Style Transfer for Generative AI: A Step-by-Step Tutorial
July 26th, 2023

Style Transfer for Generative AI: A Step-by-Step Tutorial
Title: Style Transfer for Generative AI: A Step-by-Step Tutorial
Introduction
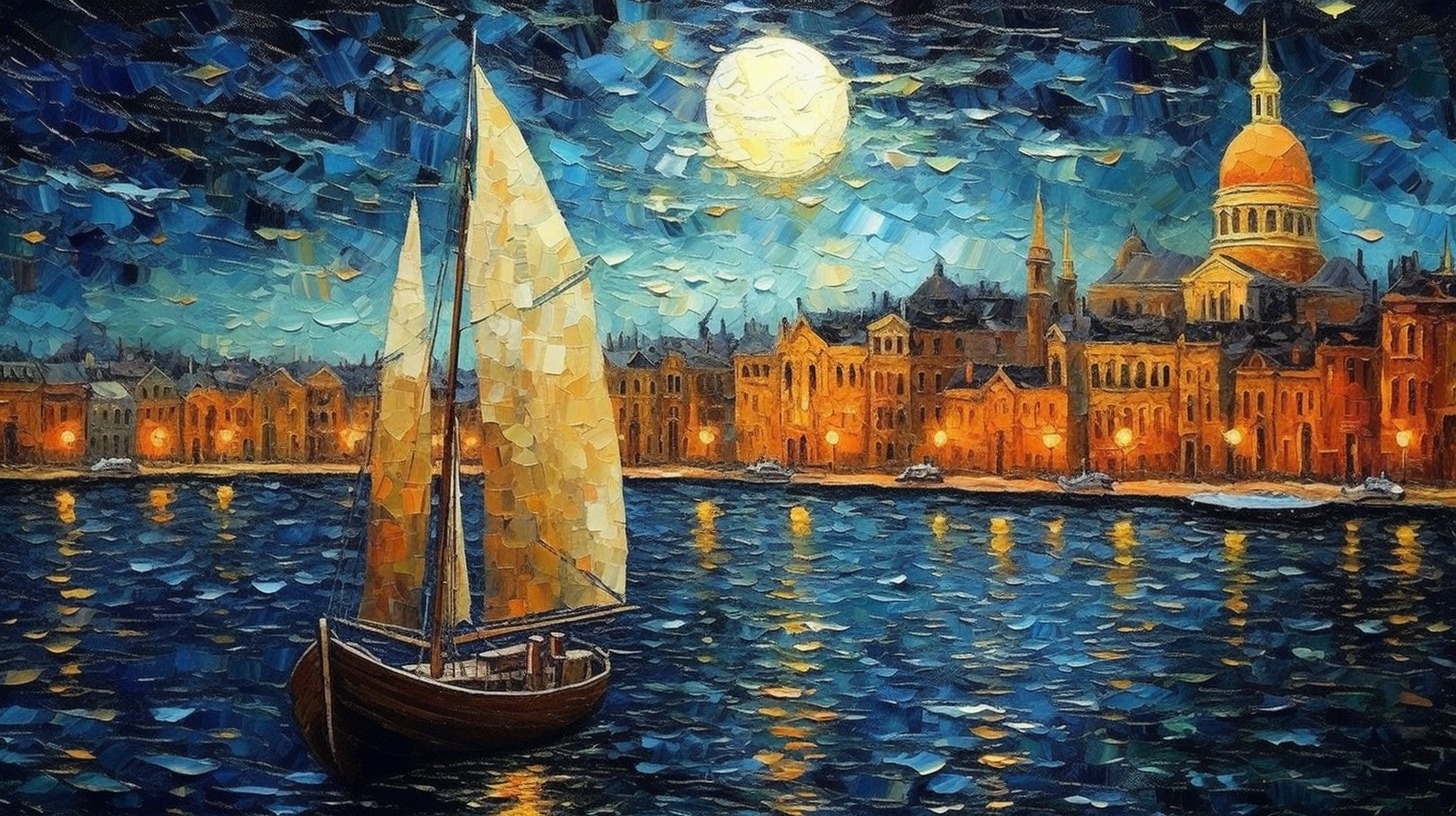
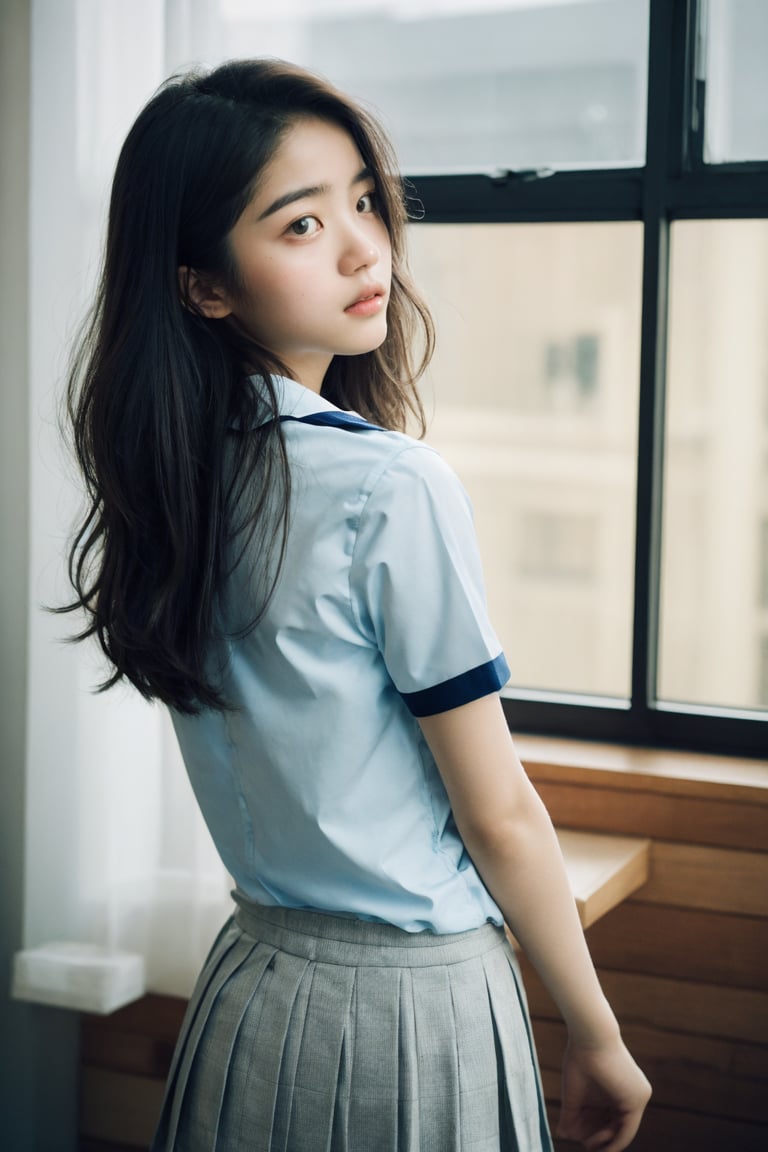
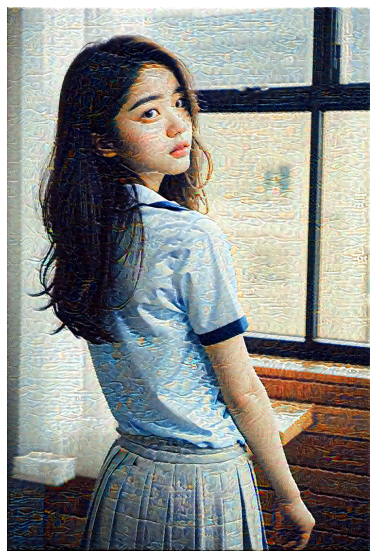
Style transfer is an exciting application of deep learning techniques, where the goal is to learn the style of a reference image and apply it to a target image while preserving its content. The result is a unique blend of the two images, giving rise to a wide range of creative possibilities in the world of art, photography, and design.
In this tutorial, we'll learn how to implement style transfer for generative AI using Python and TensorFlow. We will leverage the power of convolutional neural networks (CNNs) to build our style transfer model.
Style Image
Content Image
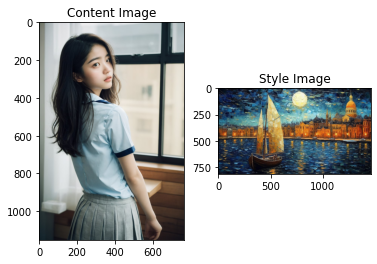
Generated Image
Requirements
- Python 3.6 or higher
- TensorFlow 2.x (preferably 2.3 or higher)
- Numpy
- Matplotlib
- PIL (Pillow)
Step 1: Import Libraries
Let's start by importing the required libraries.
import tensorflow as tf
import numpy as np
import matplotlib.pyplot as plt
from PIL import Image
Step 2: Load and Preprocess Images
To perform style transfer, we need two images: a content image and a style image. Load the images using TensorFlow and resize them to be the same shape.
content_path = 'path/to/your/content/image.jpg'
style_path = 'path/to/your/style/image.jpg'

def load_image(image_path):
    img = tf.keras.preprocessing.image.load_img(image_path)
    img = tf.keras.preprocessing.image.img_to_array(img)
    img = np.array(img) / 255.0
    img = np.expand_dims(img, axis=0)
    return img

content_image = load_image(content_path)
style_image = load_image(style_path)
Step 3: Define the Model
For style transfer, we'll use the VGG19 model, which is pretrained on the ImageNet dataset. We'll only utilize specific layers in the model to extract style and content features.
def vgg_model(layer_names):
    vgg = tf.keras.applications.VGG19(include_top=False, weights='imagenet')
    vgg.trainable = False
    outputs = [vgg.get_layer(name).output for name in layer_names]
    model = tf.keras.Model(inputs=vgg.input, outputs=outputs)
    return model

# Define content and style layers
content_layers = ['block5_conv2']
style_layers = [
    'block1_conv1',
    'block2_conv1',
    'block3_conv1',
    'block4_conv1',
    'block5_conv1',
]

# Create the model
model = vgg_model(style_layers + content_layers)
Step 4: Define Loss Functions
Define the loss functions for content and style, which will be used to optimize the generated image.
def content_loss(generated_features, content_features):
    return tf.reduce_mean(tf.square(generated_features - content_features))

def gram_matrix(tensor):
    reshaped_tensor = tf.reshape(tensor, (-1, tensor.shape[-1]))
    gram = tf.matmul(reshaped_tensor, reshaped_tensor, transpose_a=True)
    return gram

def style_loss(generated_features, style_features):
    gram_generated = gram_matrix(generated_features)
    gram_style = gram_matrix(style_features)
    return tf.reduce_mean(tf.square(gram_generated - gram_style))
Step 5: Optimize the Generated Image
Iteratively optimize the generated image with respect to the content and style losses using gradient descent.
def optimize_generated_image(content_image, style_image, epochs=1000, alpha=1.0, beta=1e-4):
    generated_image = tf.Variable(content_image, dtype=tf.float32)

    # Obtain content and style features
    content_output = np.array(model(content_image)[:-len(style_layers)])
    style_output = model(style_image)[-len(style_layers):]

    for e in range(epochs):
        with tf.GradientTape() as tape:
            outputs = model(generated_image)
            content_features = outputs[:-len(style_layers)]
            style_features = outputs[-len(style_layers):]

            # Compute total loss
            content_losses = [content_loss(content_features[i], content_output[i]) for i in range(len(content_layers))]
            style_losses = [style_loss(style_features[i], style_output[i]) for i in range(len(style_layers))]
            loss = alpha * sum(content_losses) + beta * sum(style_losses)

        # Compute gradients and update the generated image
        gradients = tape.gradient(loss, generated_image)
        tf.optimizers.Adam().apply_gradients([(gradients, generated_image)])

        if e % 100 == 0:
            print(f"Epoch {e}: Loss {loss.numpy()}")

    return tf.clip_by_value(generated_image, 0.0, 1.0).numpy()
Step 6: Start the Style Transfer Process
Now it's time to perform style transfer!
generated_image = optimize_generated_image(content_image, style_image, epochs=1000, alpha=1.0, beta=1e-4)
Step 7: Visualize and Save the Generated Image
Finally, visualize the generated image and save it to disk.
# Visualize the generated image
plt.figure(figsize=(10, 10))
plt.imshow(generated_image[0])
plt.axis('off')
plt.show()

# Save the generated image
generated_image = np.squeeze(generated_image) * 255
generated_image = Image.fromarray(np.uint8(generated_image))
generated_image.save('output/generated_image.jpg')
That's it! You have successfully implemented style transfer for generative AI using CNNs and TensorFlow. Feel free to experiment with different content and style images, and adjust the parameters to create your unique artworks!
Other articles
October 28th, 2023
Exploring the Structure and Functionality of GPT and LLAMA
age models - Generative Pre-training Transformer (GPT) and LAnguage Model Analysis (LLAMA). Understand their functionality, operation and role in natural language understanding tasks. read more...
August 4th, 2023
Secret Project from Stability AI. Stable Swarm Install Guide.
er experience for Stable Diffusion. source read more...
October 29th, 2023
Step-by-step Guide for Installing and Running GPT4All
ocally on consumer grade CPUs. read more...


